How to build a basic page
Basic pages are the most commonly used content template on the site. It's used for almost every page except for:
- Blogs (Use "Article")—See instructions on how to build a blog at end of these instructions
- Events (Use Event NW)
You might use other types of content, but Basic Page, Article, and Event NW are the most common content templates.
Below is a step-by-step guide to building a Basic Page.
Step 1: Log into Drupal and Add a Basic Page
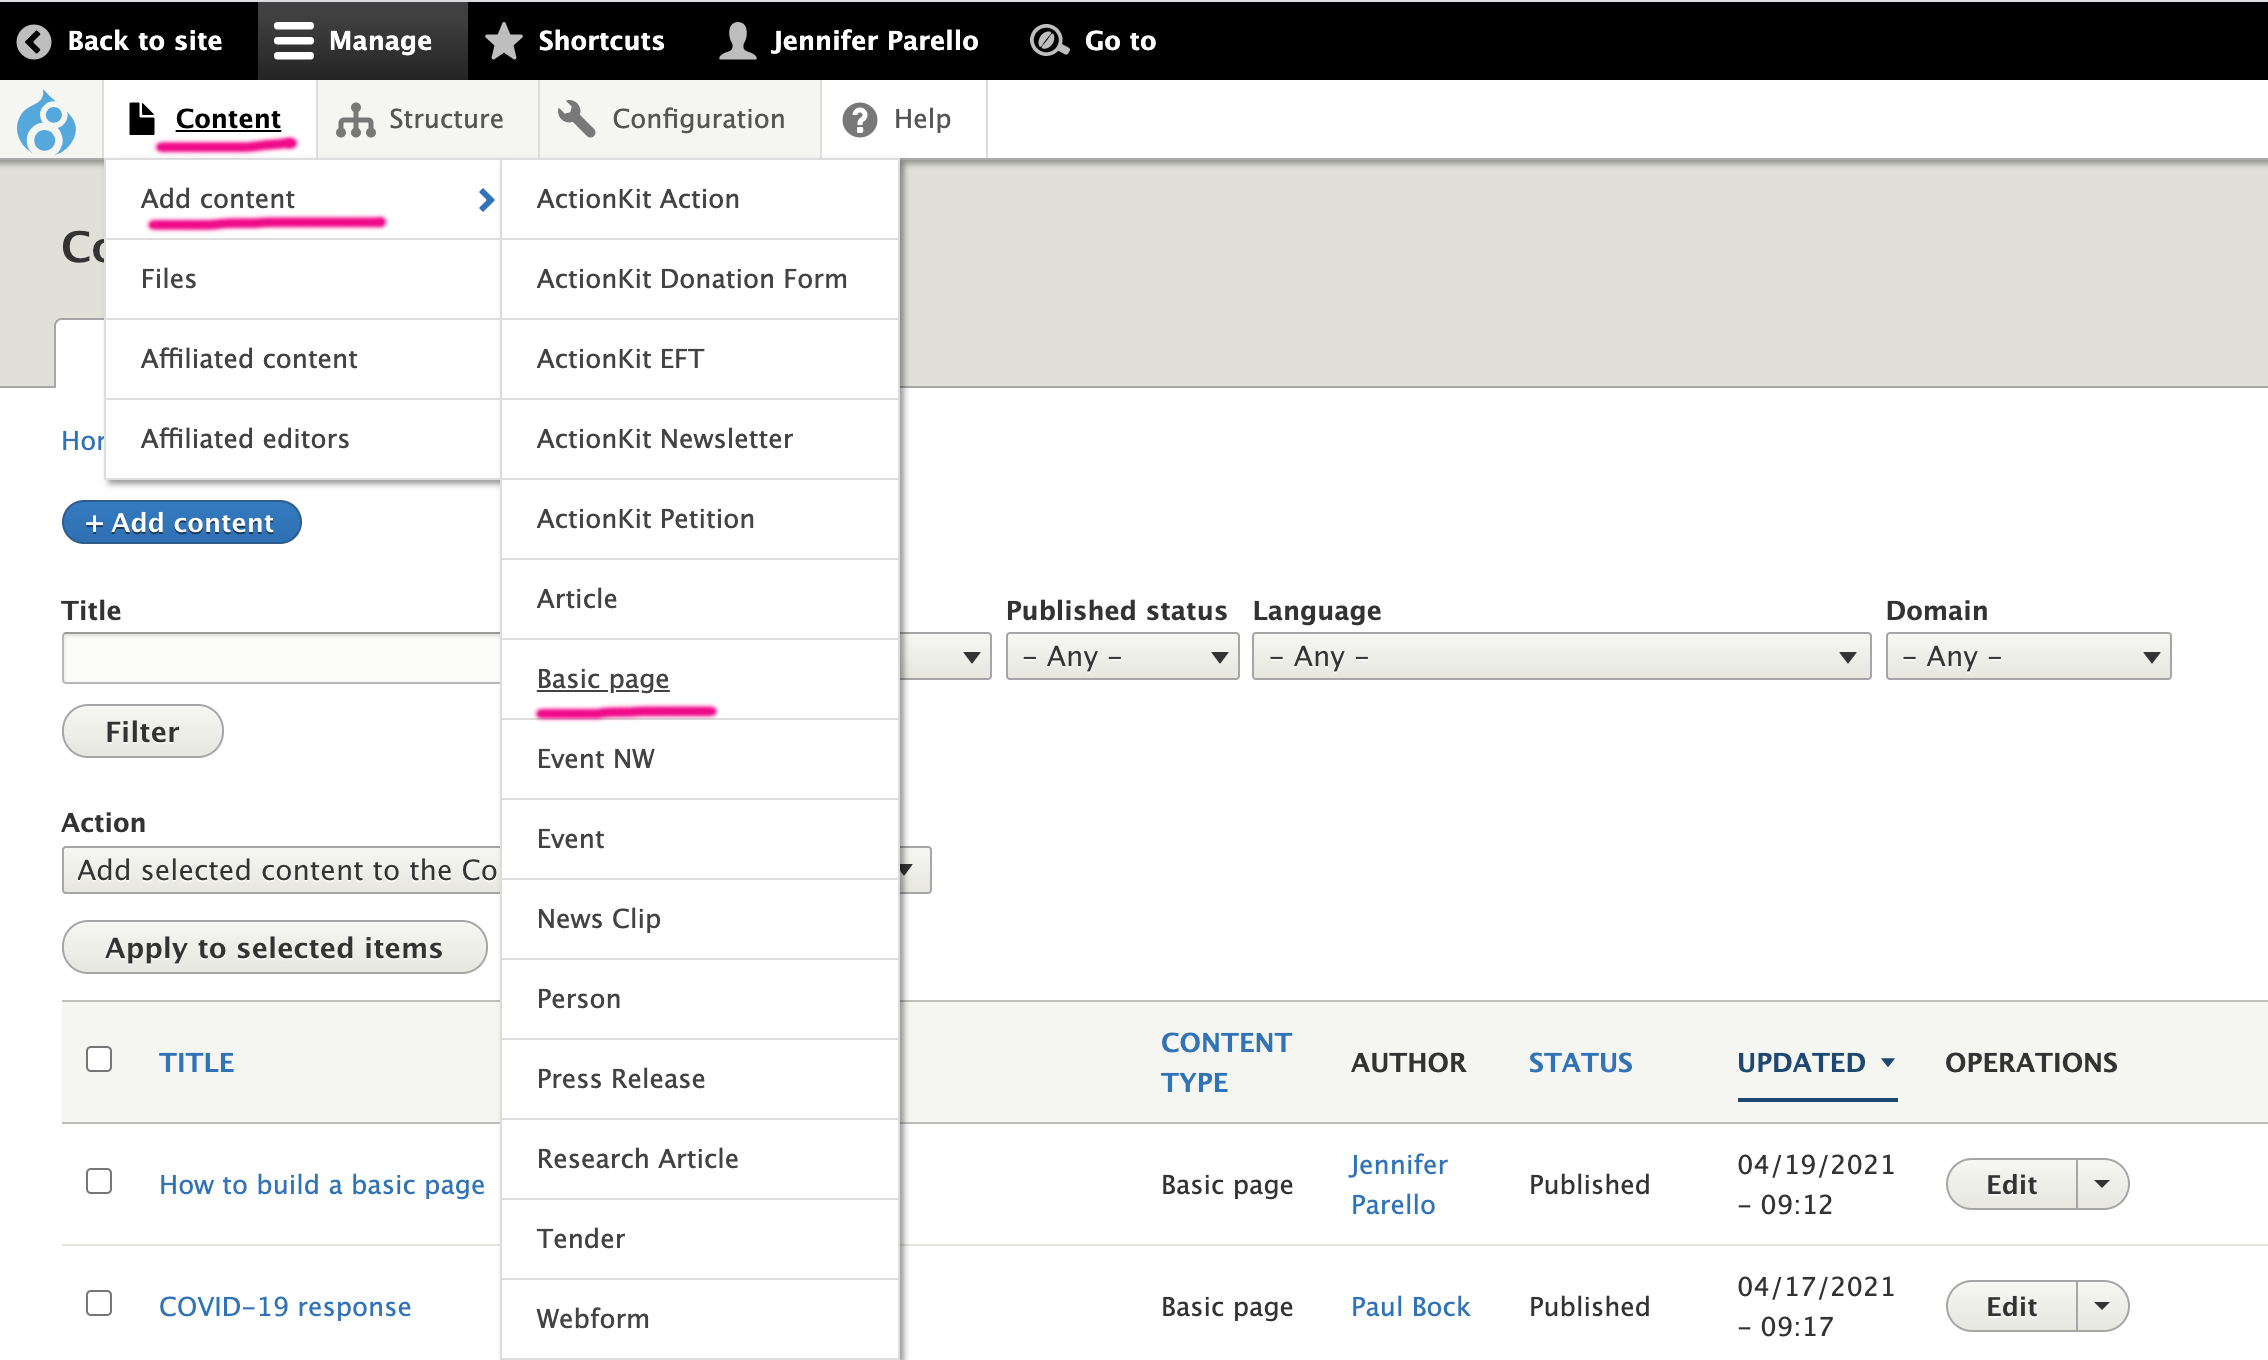 1. Click on Content dropdown
2. Click on Add Content dropdown
3. Click on Basic page
Step 2: Set Up Essential Page Info
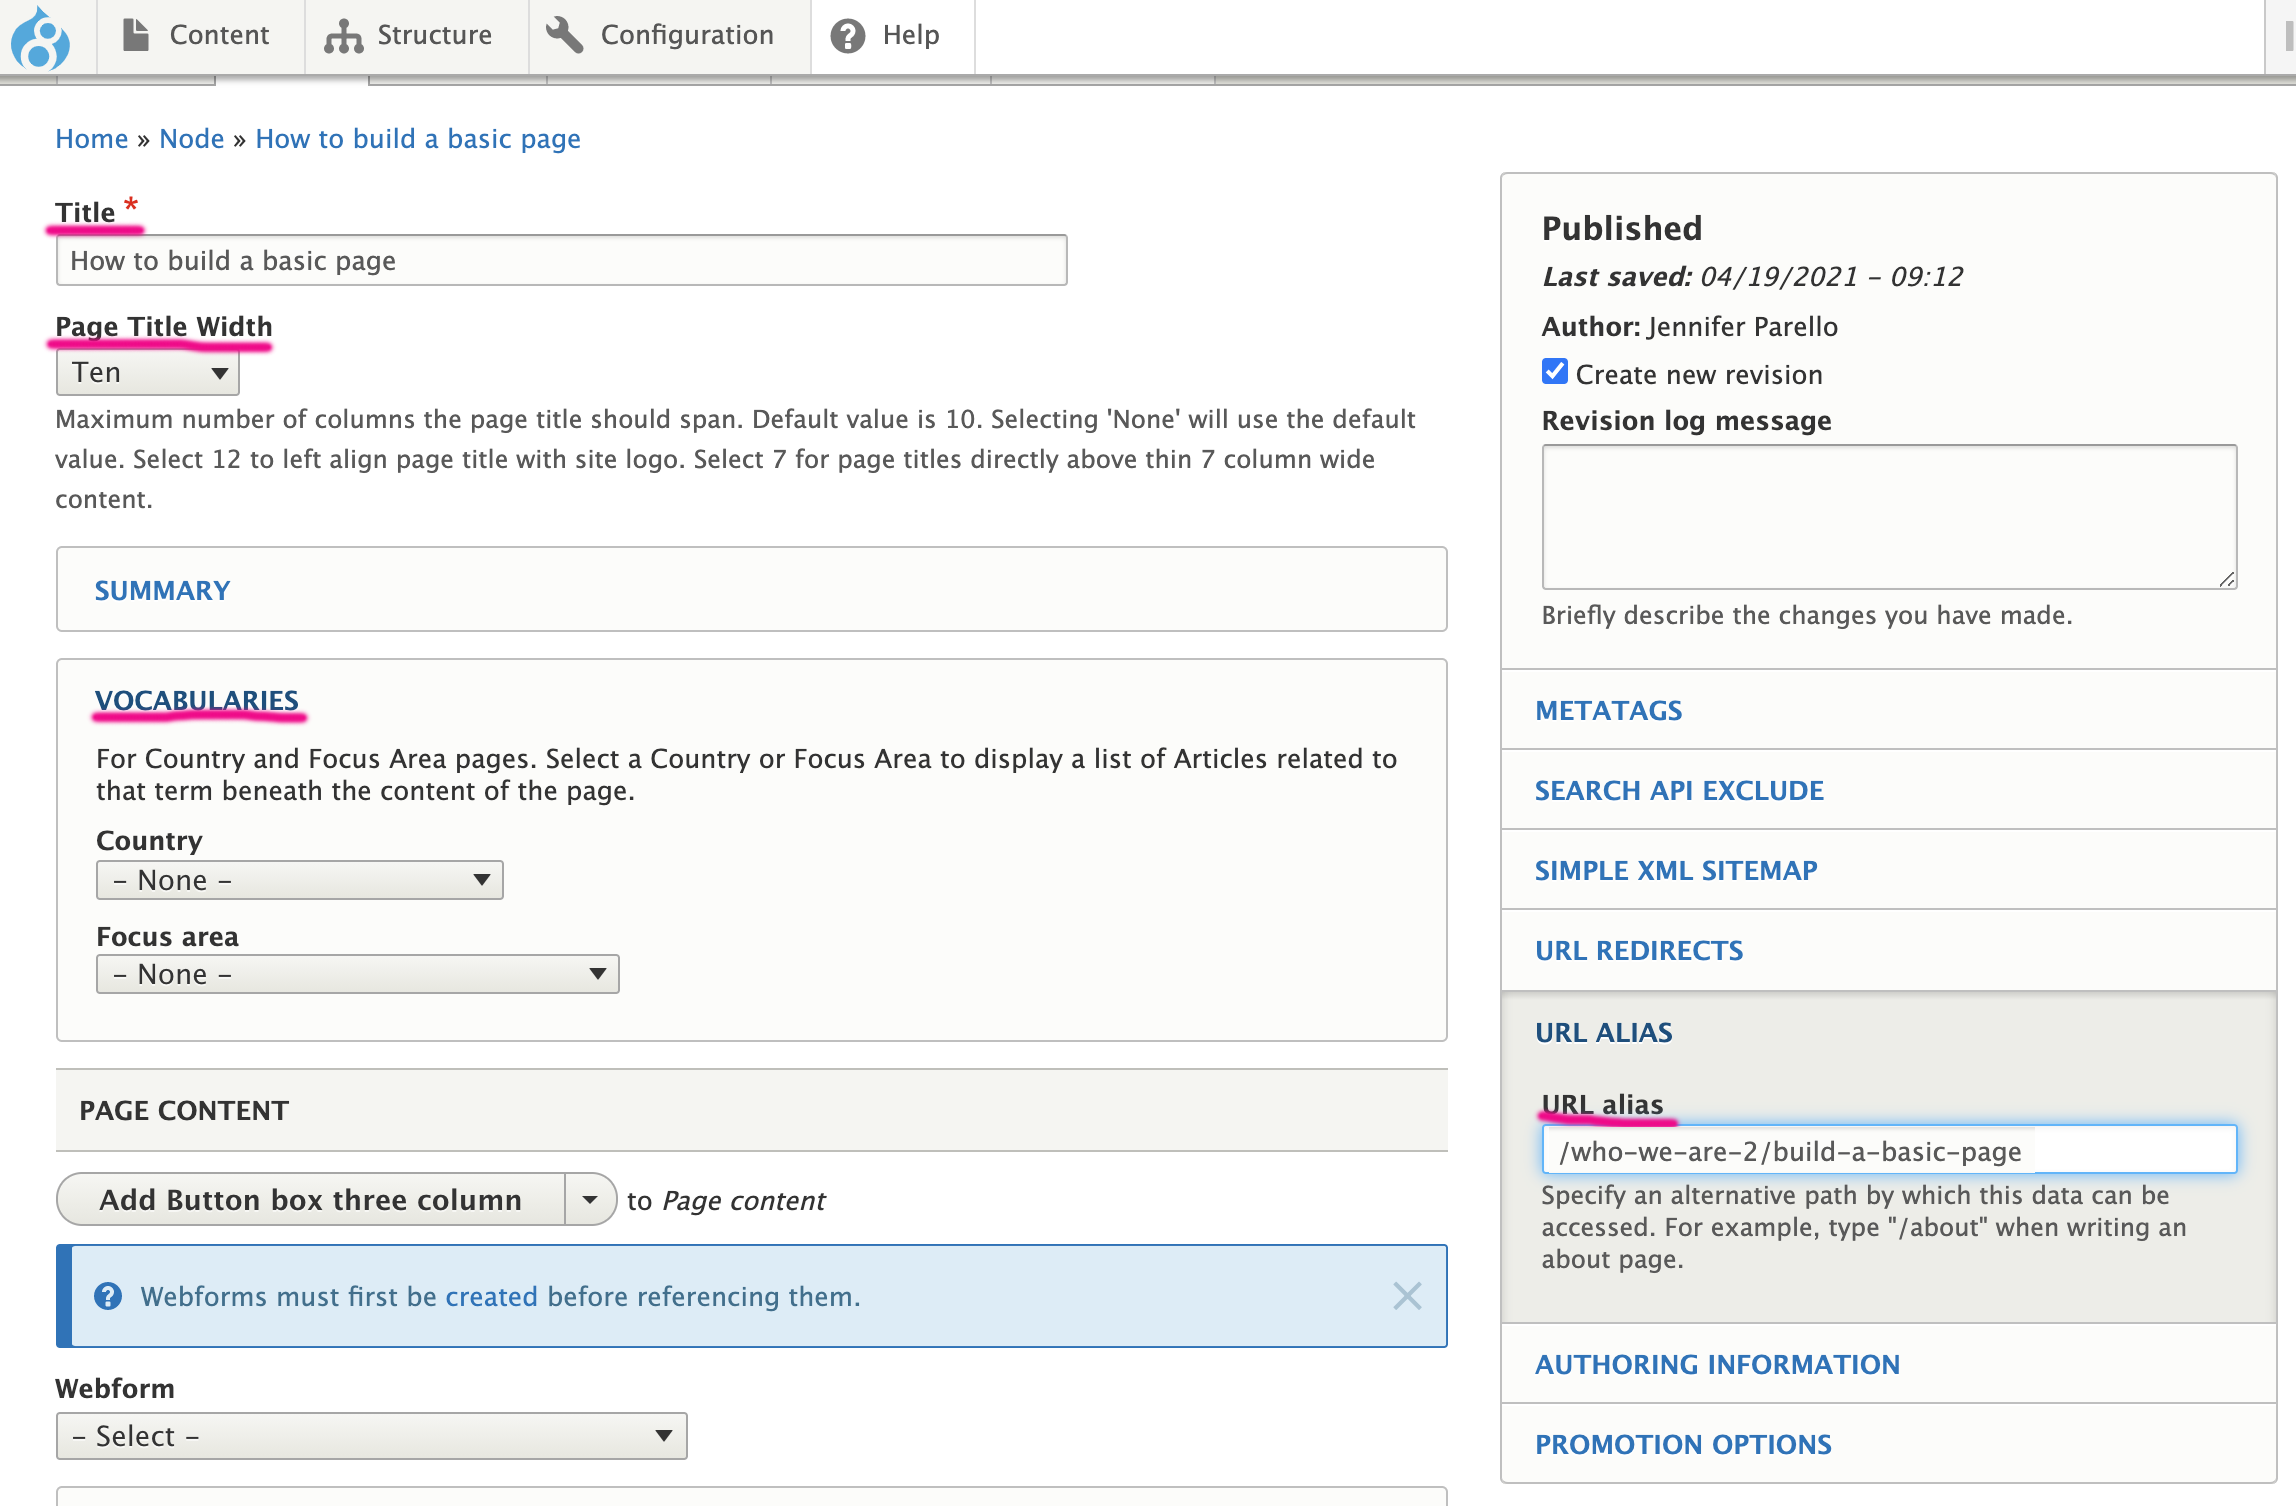
1. Add a title:
2. Page Title Width: Almost always leave it at default of "Ten." Ten spans the width of the content area. Twelve spans the width of the page.
3: Summary: A system bug is preventing this area from working currently. Leave blank until bug is fixed
4. Vocabularies: Currently not applicable for NW pages
5. URL alias: The alias will serve as the page's URL. To format:
- /SECTION/PAGE-TITLE (URL info that will follow www.mercycorps)
- e.g.: /event/online-mercy-corps-northwest-small-business-orientation-april-21
- URL alias is all lowercase and words are connected by hyphens
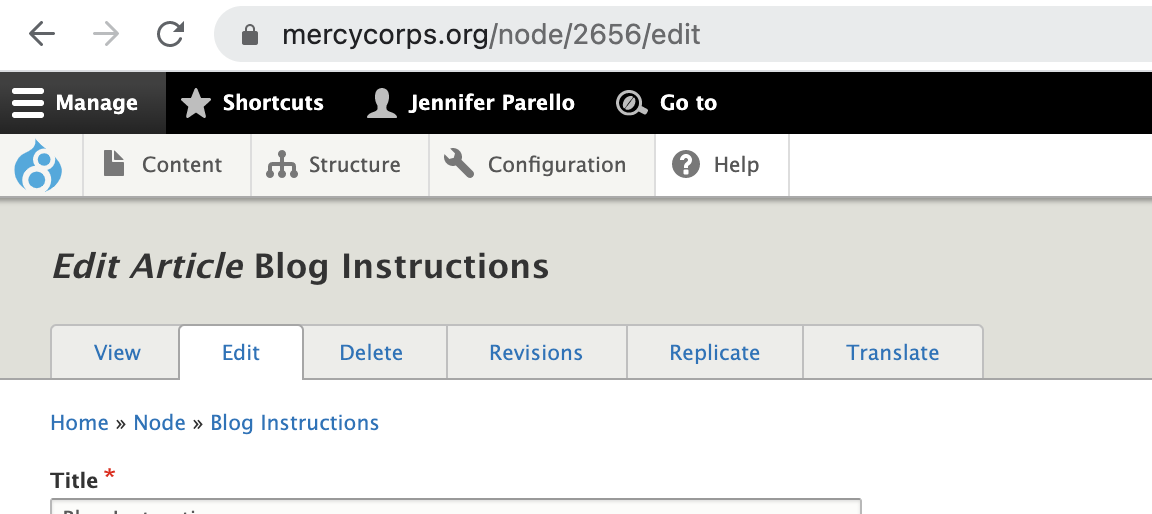
IMPORTANT: Nodes vs URLs
All pages in Drupal get a Node when you create them. The Node # is how Drupal identifies the page and serves as its permanent URL. When you create a URL alias, that will display as the URL rather than the Node. It also allows you to customize the URL without changing the permanent URL.
When you open a page in Edit mode, you'll see the Node # in the URL rather than the URL alias, which only appears in the live environment:
Step 3: Build content components
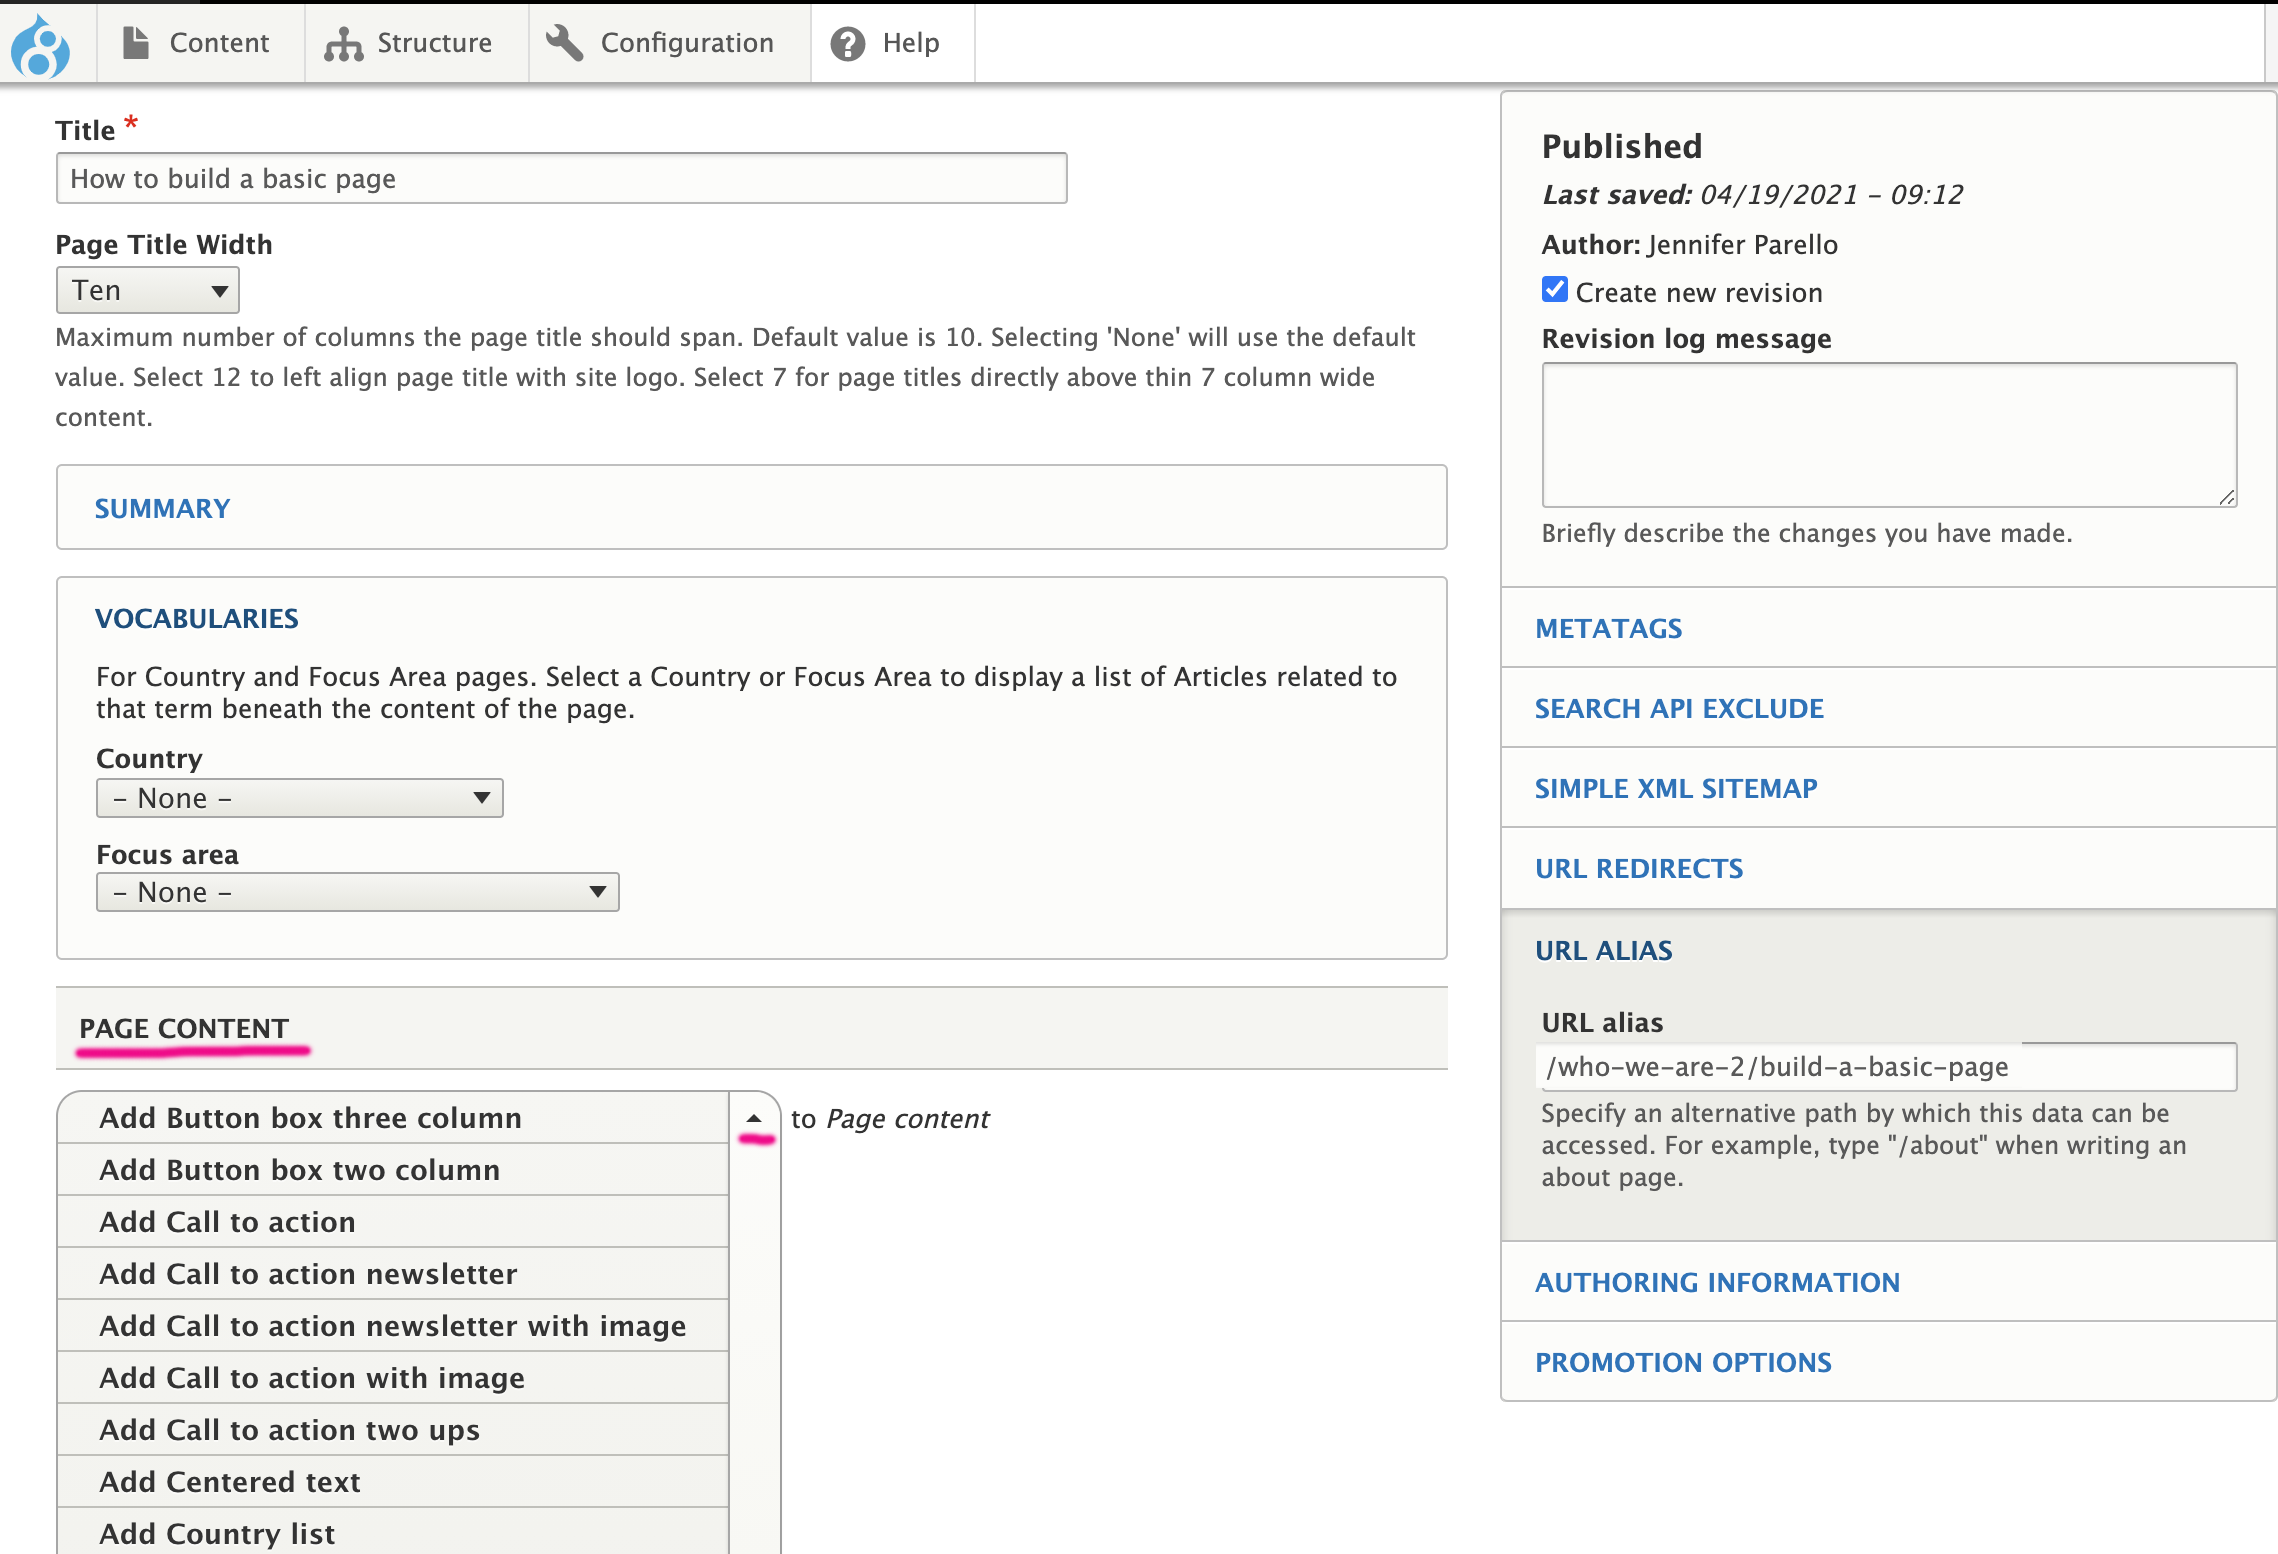
Developing a page typically requires using multiple Page Content components to present content and media in different ways and to create the page layout.
There are many different components. Instruction on how to use the most commonly used components are available here: https://www.mercycorps.org/drupal-components
After you finish building your content, your various components will be stacked like this (you can move the components around on the page by using the directional icon to the left of the component name):
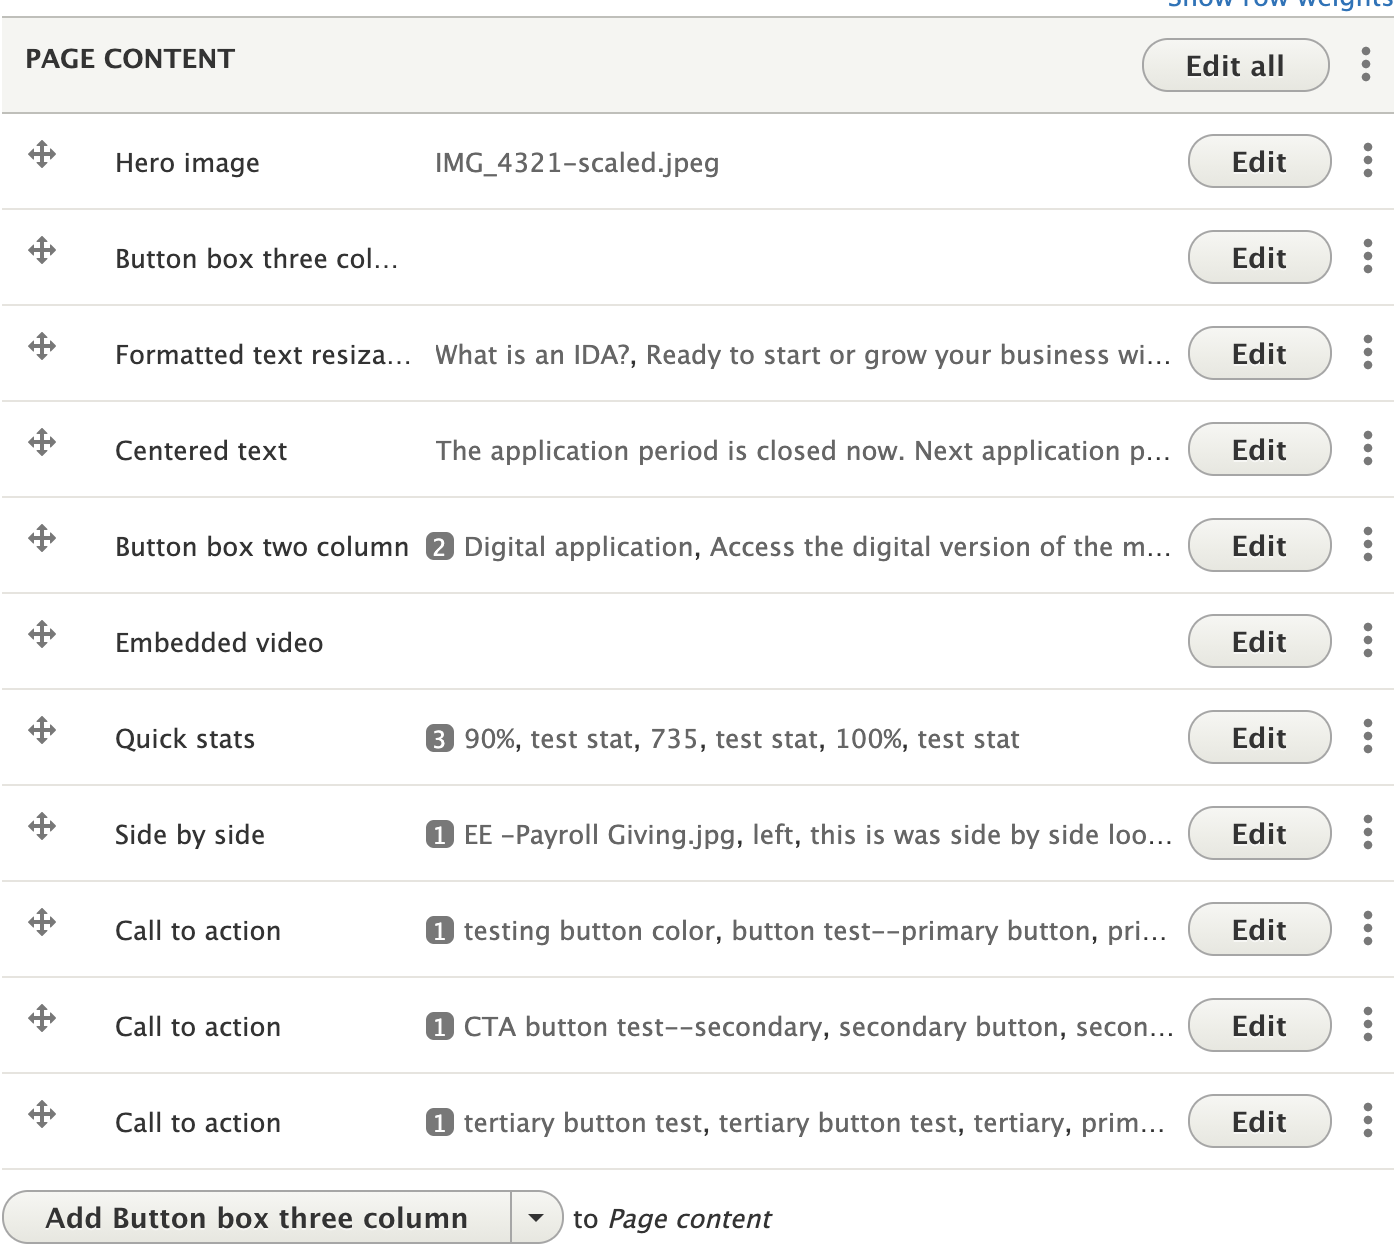
On Basic Pages, the most common components you'll use are:
- Formatted text resizable (multipurpose component with wiziwig for content)
- Centered text (typically used to make a short block of text standout)
- Image components: There are several types of image components. They all work the same way but present images/content differently. (Steps to add/crop images detailed in Step 4 below)
- Hero image: For images that span the width of the top of the page
- Slideshow
- Embed video
- Quick stats: Illustrative presentation of statistics
- People: Template to showcase headshots
- Call to action: There are several call-to-action components
Go to https://www.mercycorps.org/drupal-components for instructions on how to build and use specific components.
To build a component:
1. Click on a component in the Page Content dropdown
2. Use wiziwig to format content/media
3. For components that have buttons, see Step 5 below
4. Important: Save your page after building a component by clicking on the blue button at the bottom of the page. Uncheck the "Published" box to save page as a Draft.
Step 4: Adding image components
1. Select an image component (see https://www.mercycorps.org/drupal-components for examples of image components)
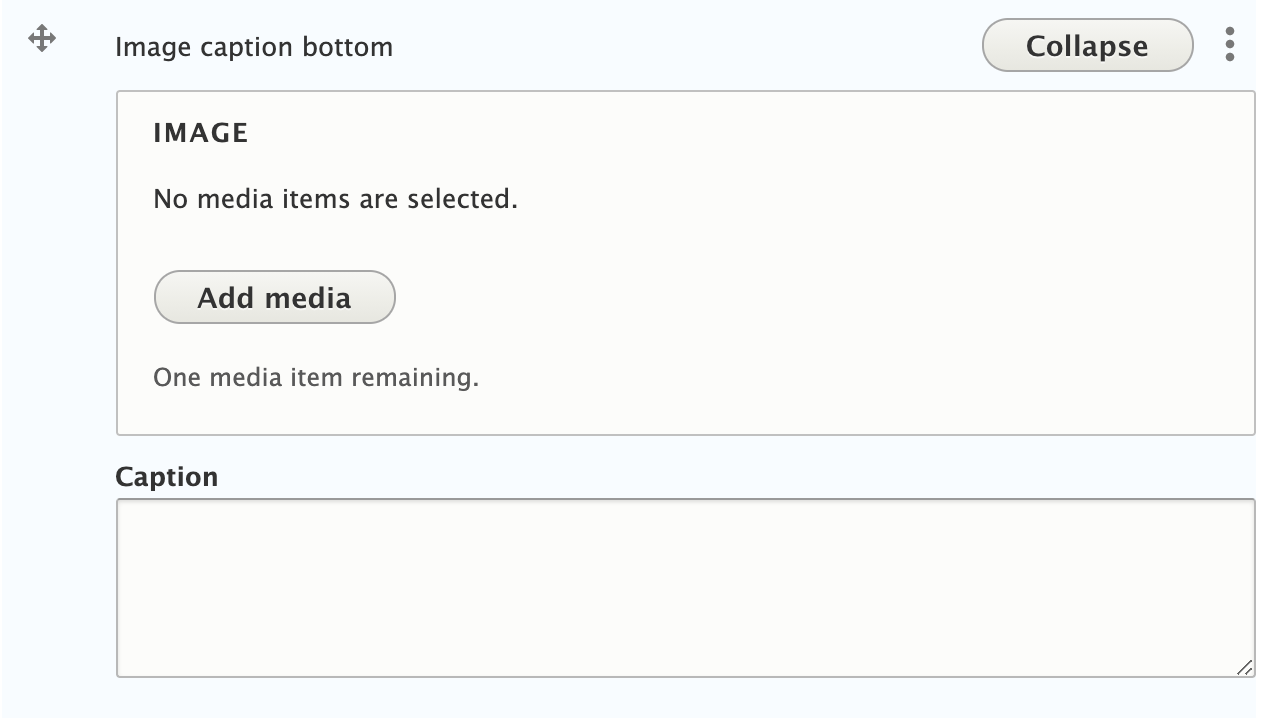
2. Click the Add Media button (above)
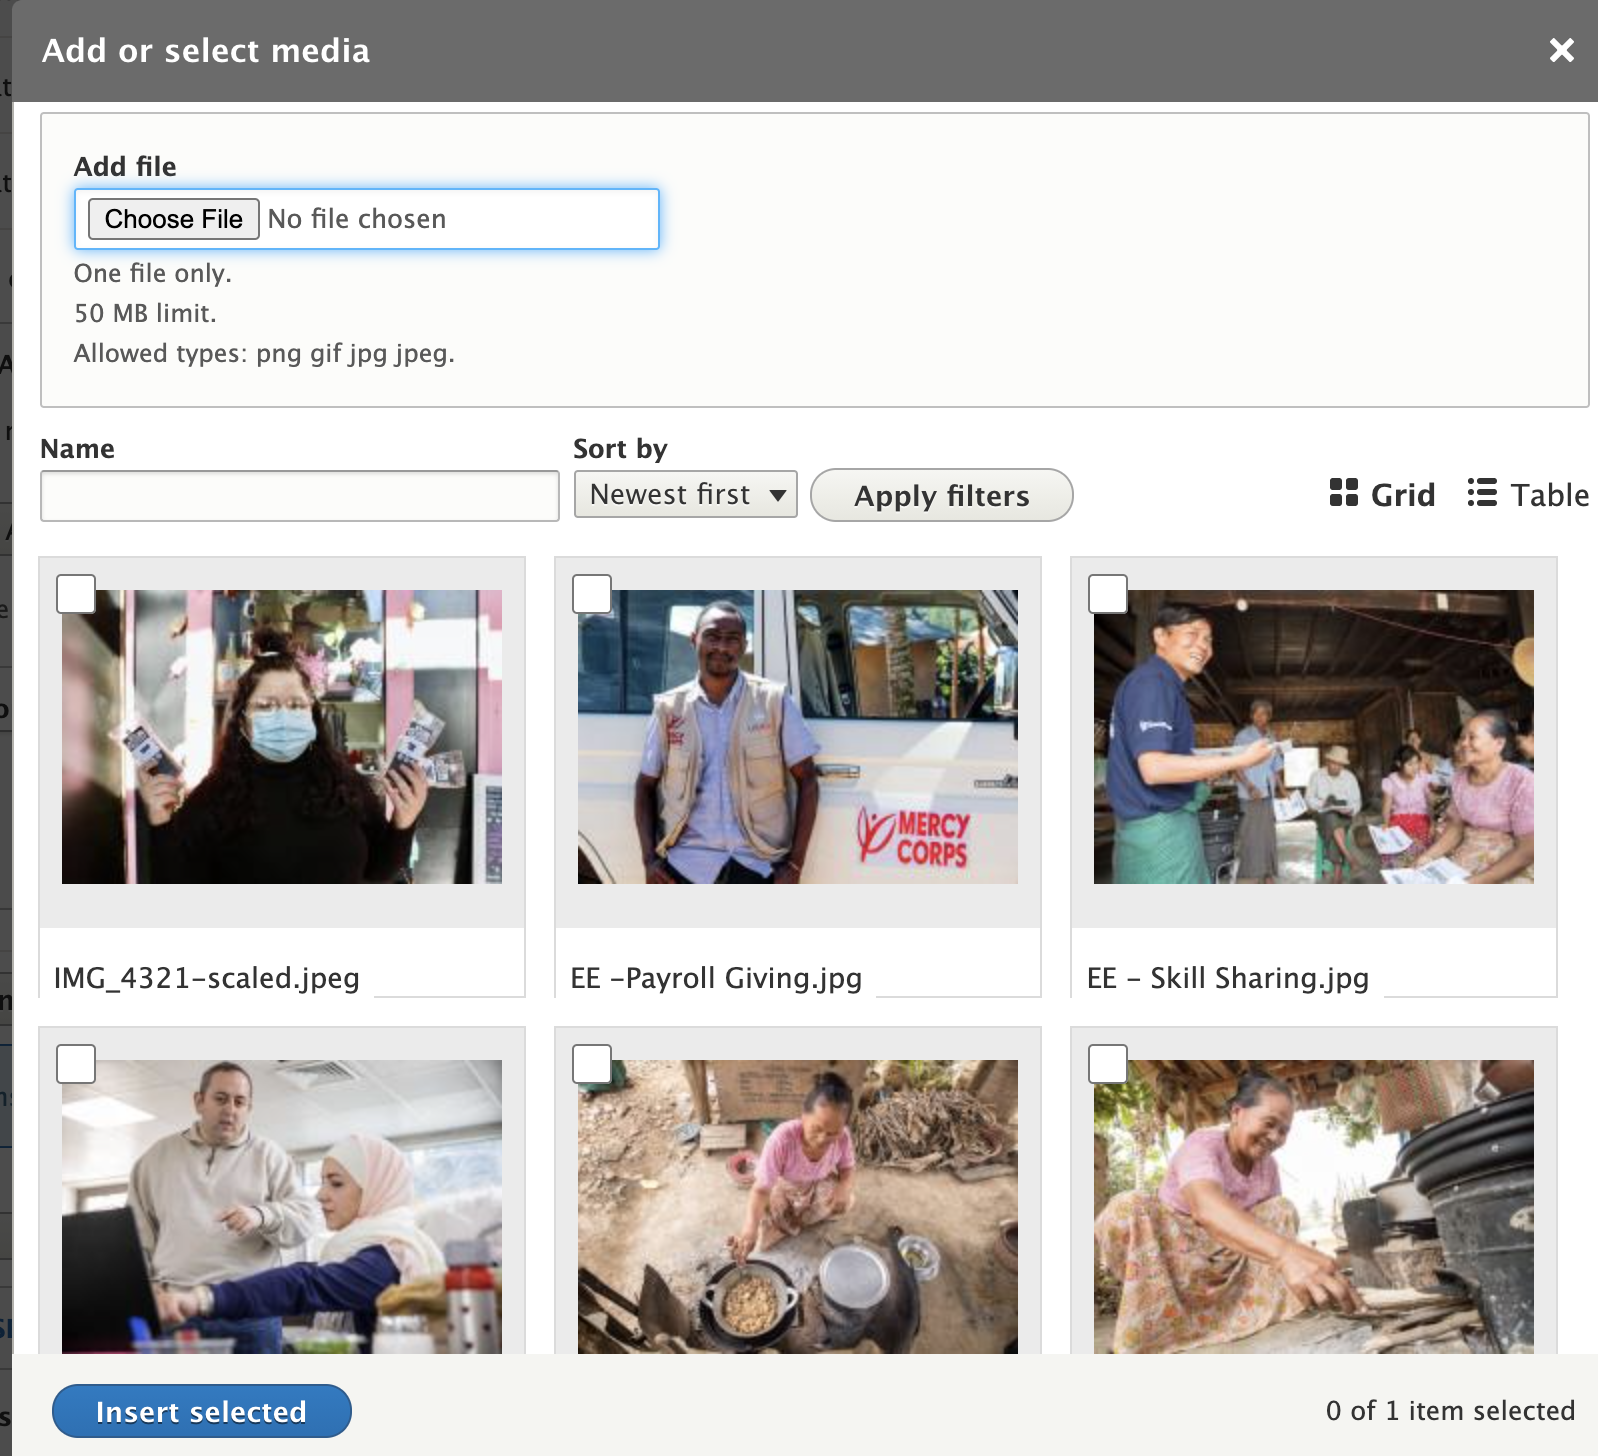
3. Click Choose File and find the image you're going to upload (above)
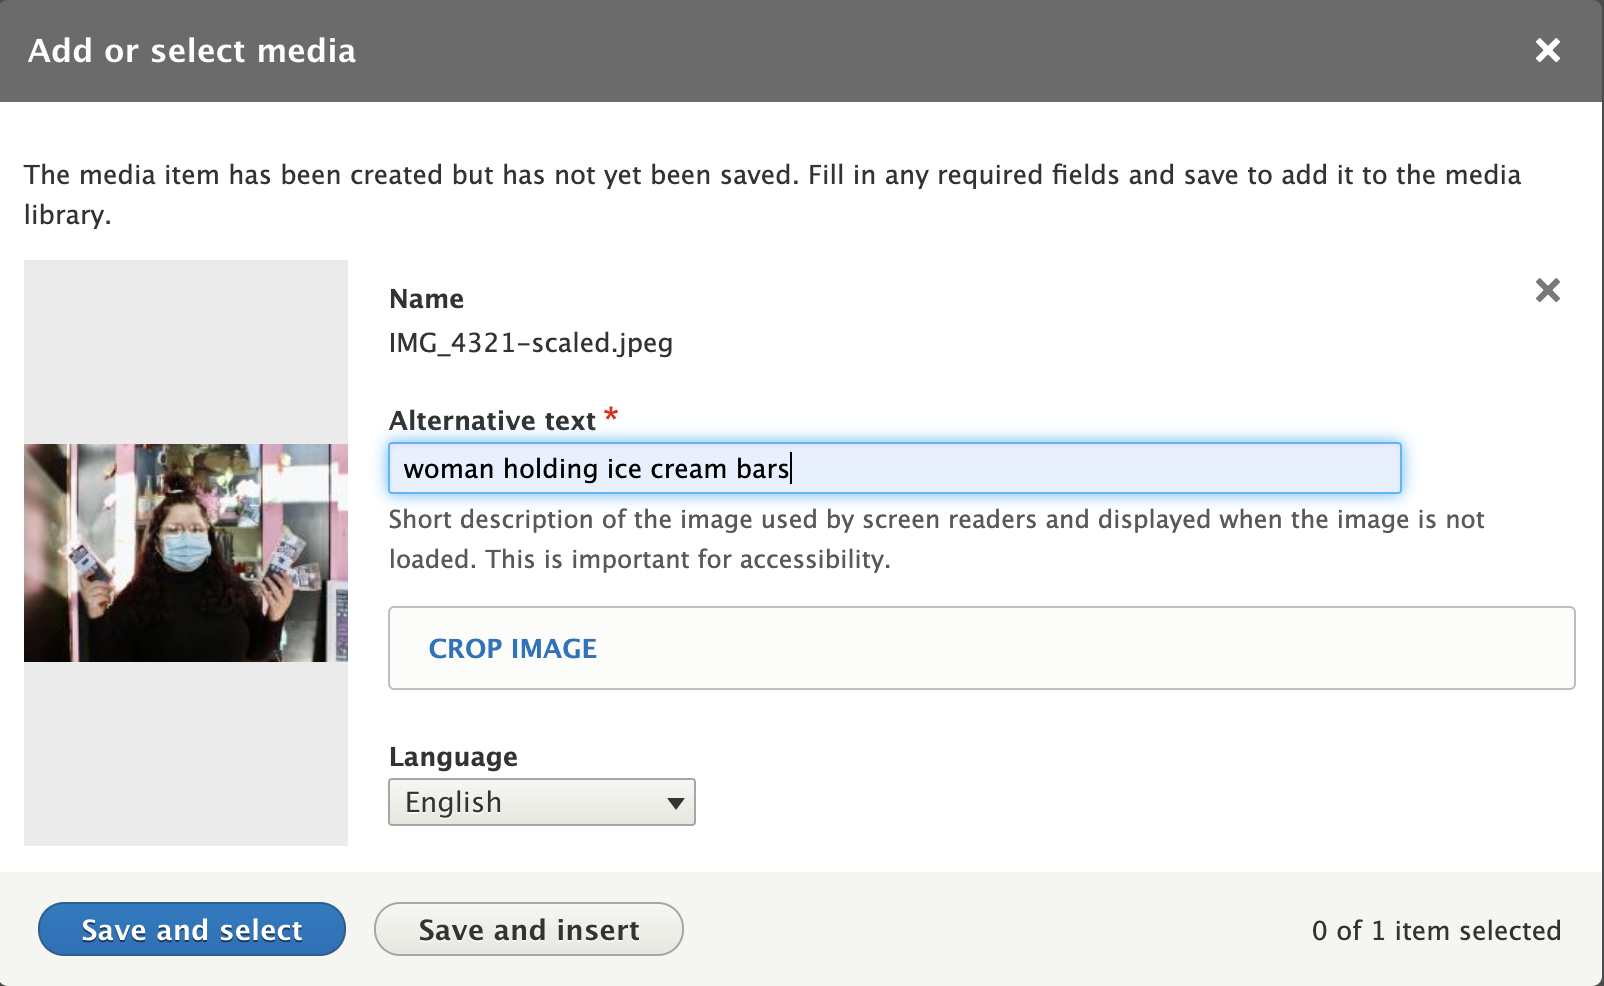
4. Add image description in Alternative text field and then click Crop Image (above)
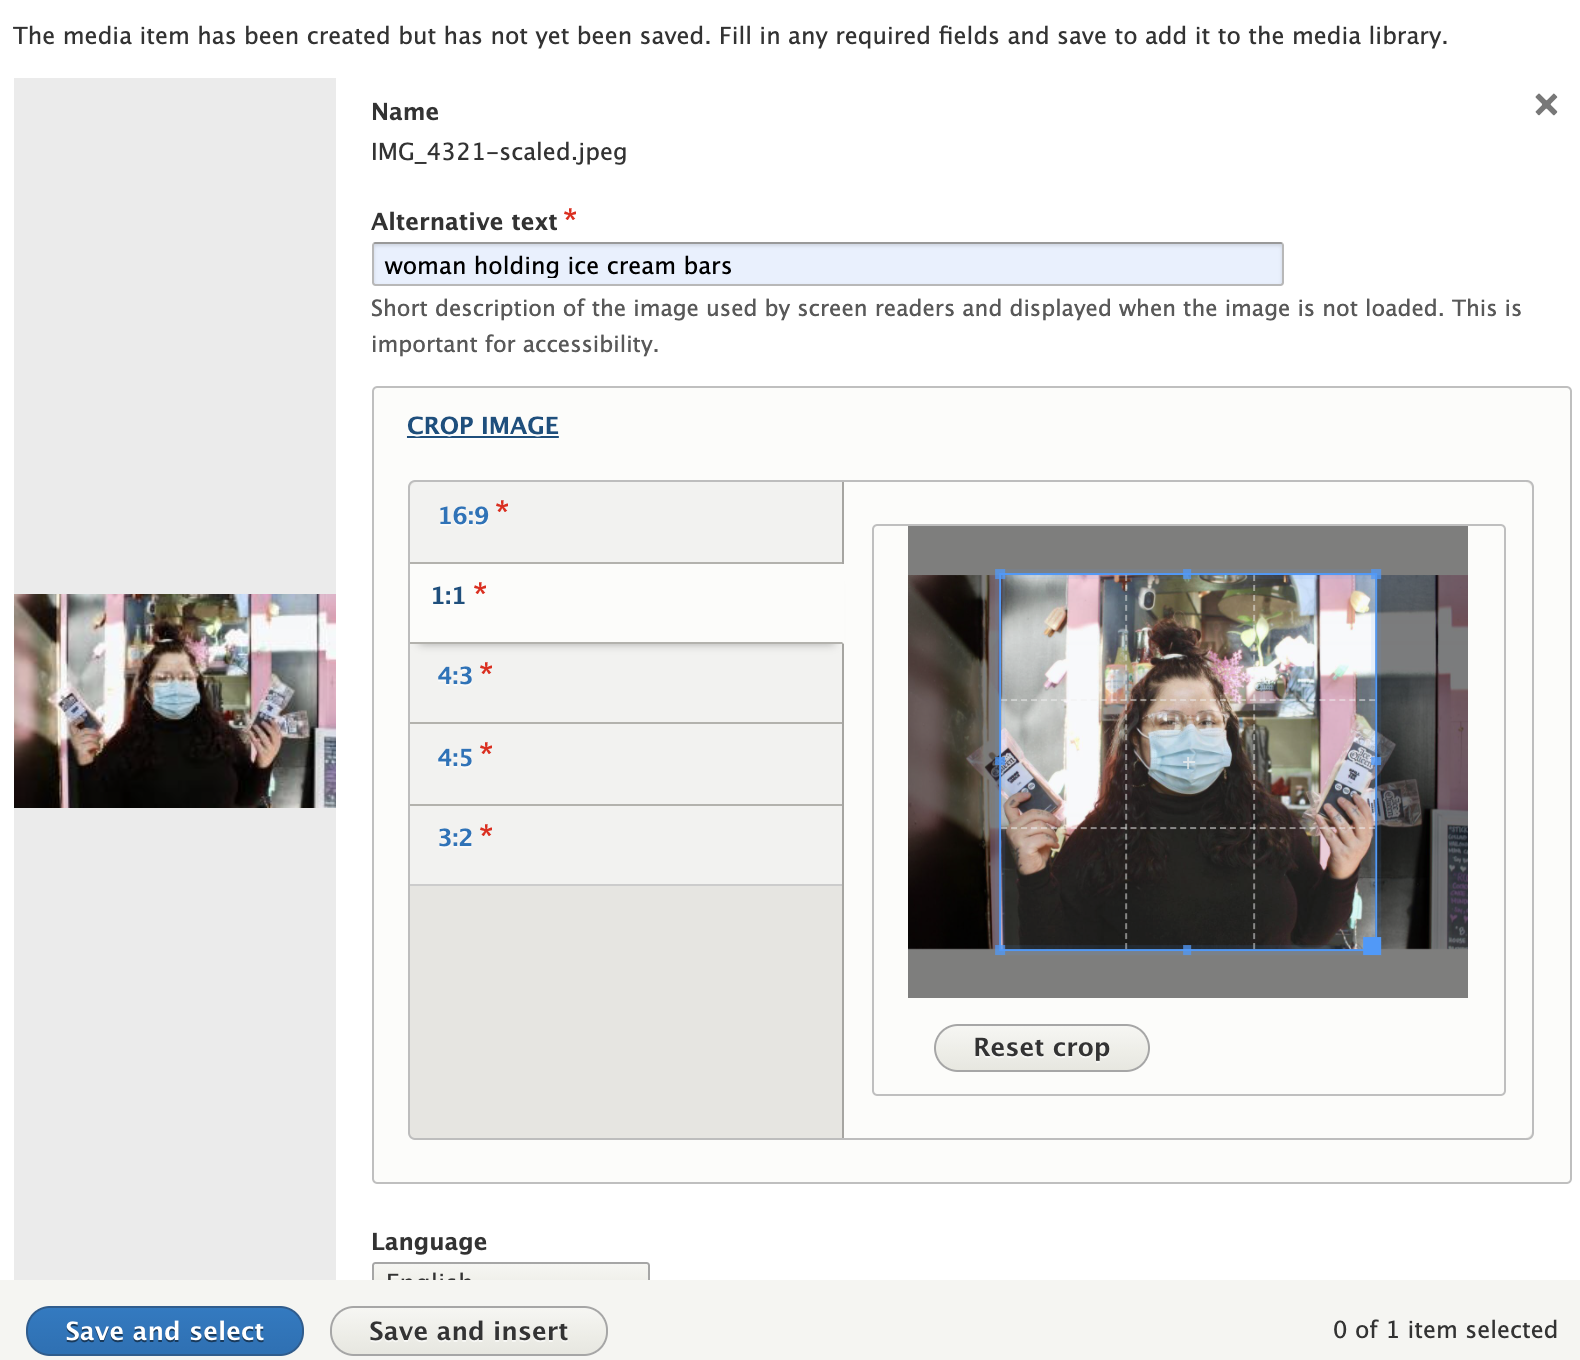
5. Click on dimensions to preview how crop will look (above). You can move the crop box around on the image to adjust the crop. Then Click Save and Insert.
Step 5: Styling buttons in components
Several content components allow you to include a button with a link to another page.
This is how to style a button in a component.
1. Choose a content component. Commonly used components with buttons include:
- Call to action components
- Button box components
- Side by Side component
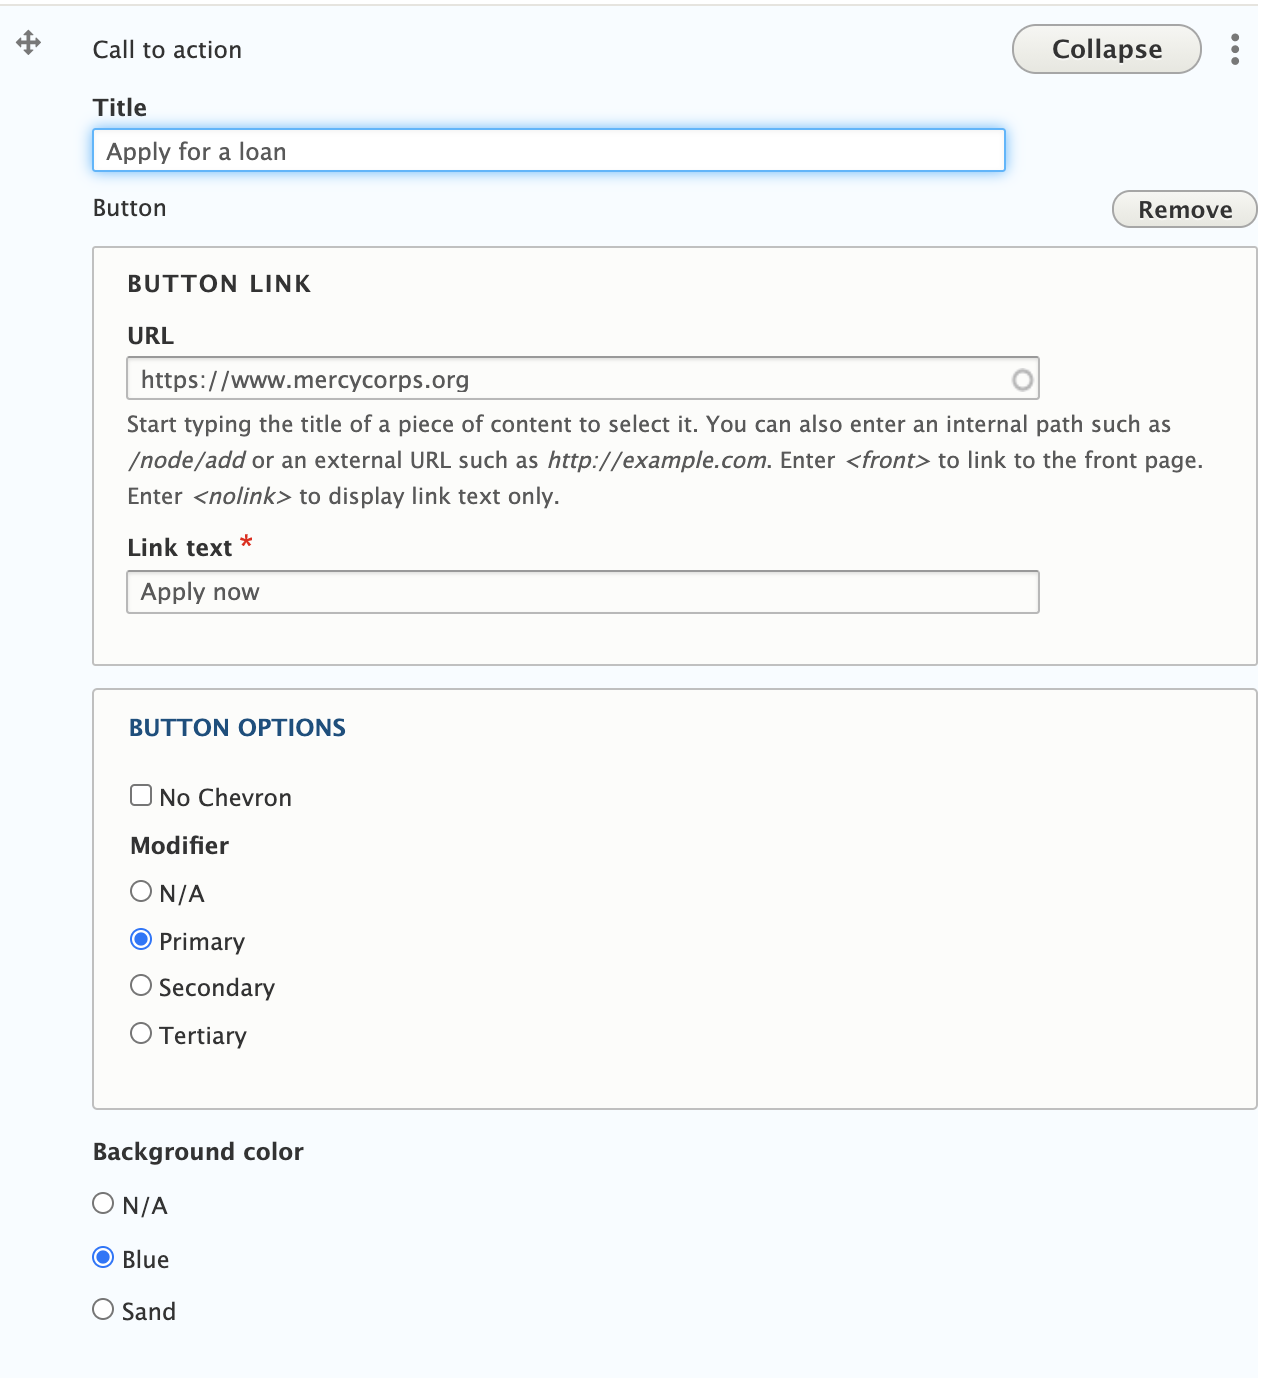
2. Fill in Component fields (above)
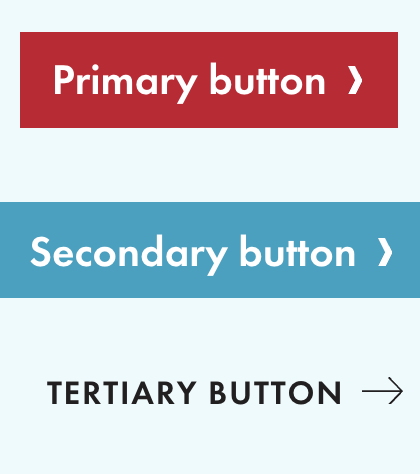
3. Select Button Options (above)
- Primary = Red button
- Secondary = Blue button
- Teriary = Black
NOTE: Red button is used ONLY to link to donation CTAs
4. If available in the component, choose Background Color: None, Blue, or Sand
Step 6: Saving, previewing, and publishing your page
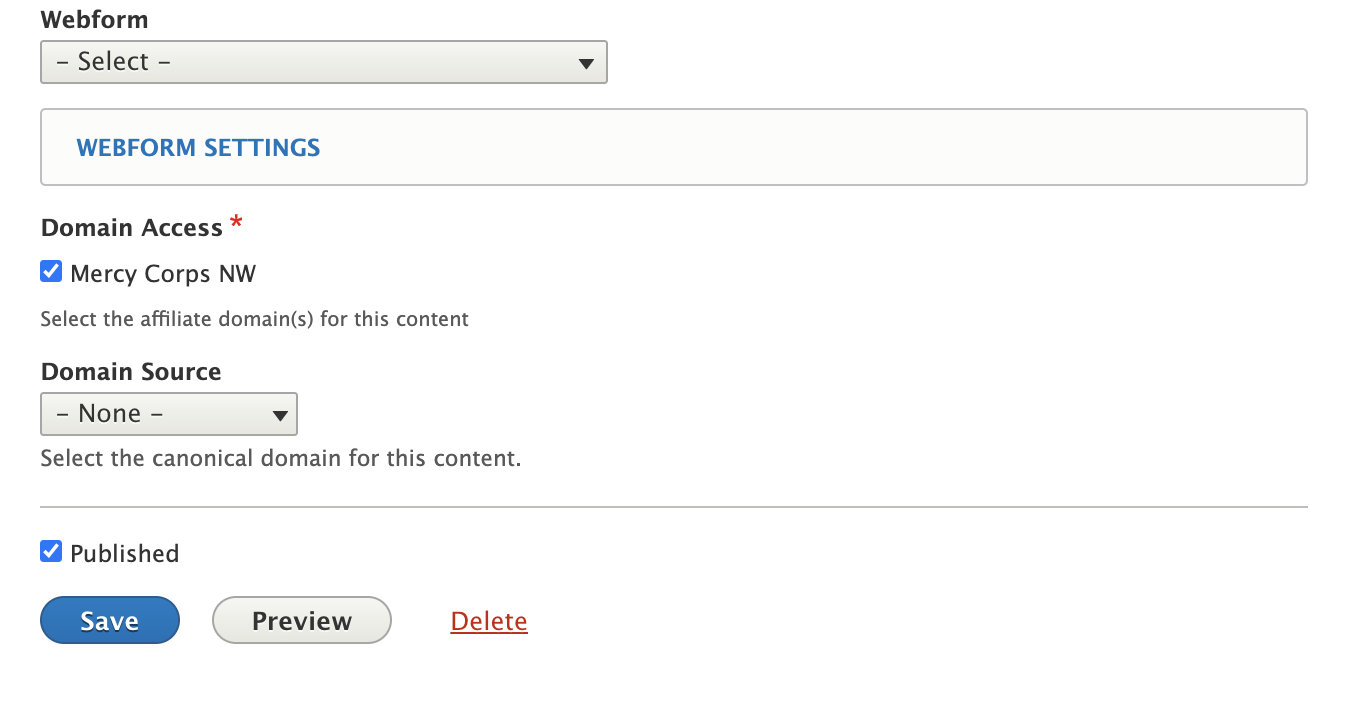
1. Adding a webform: Select a form from the dropdown menu (Note: Forms must be created in a different application to display in the dropdown. See XXXXXXXXXX for instructions on how to create a form.
2. Select Domain Access: For NW, always choose Mercy Corps NW (Blogs allow you to share content across other domains. See Blog directions below.)
3. Select Domain Source: Select "None."
4. Save and Publish: If publish box isn't checked, page will save as a draft. If publish box is checked, page will be published to live site
Building a blog
Building a blog is very similar to building a basic page. You use the same components to present content and media on a page.
However, here are a few key differences:
- Blogs use "Article" templates, not "Basic Page" template
- You can add a subtitle under the title
- The "Formatted Text Resizable" component is open when you access the page
- You can share blogs across MercyCorps domains. (NEED INFO FROM PAUL ON THIS)
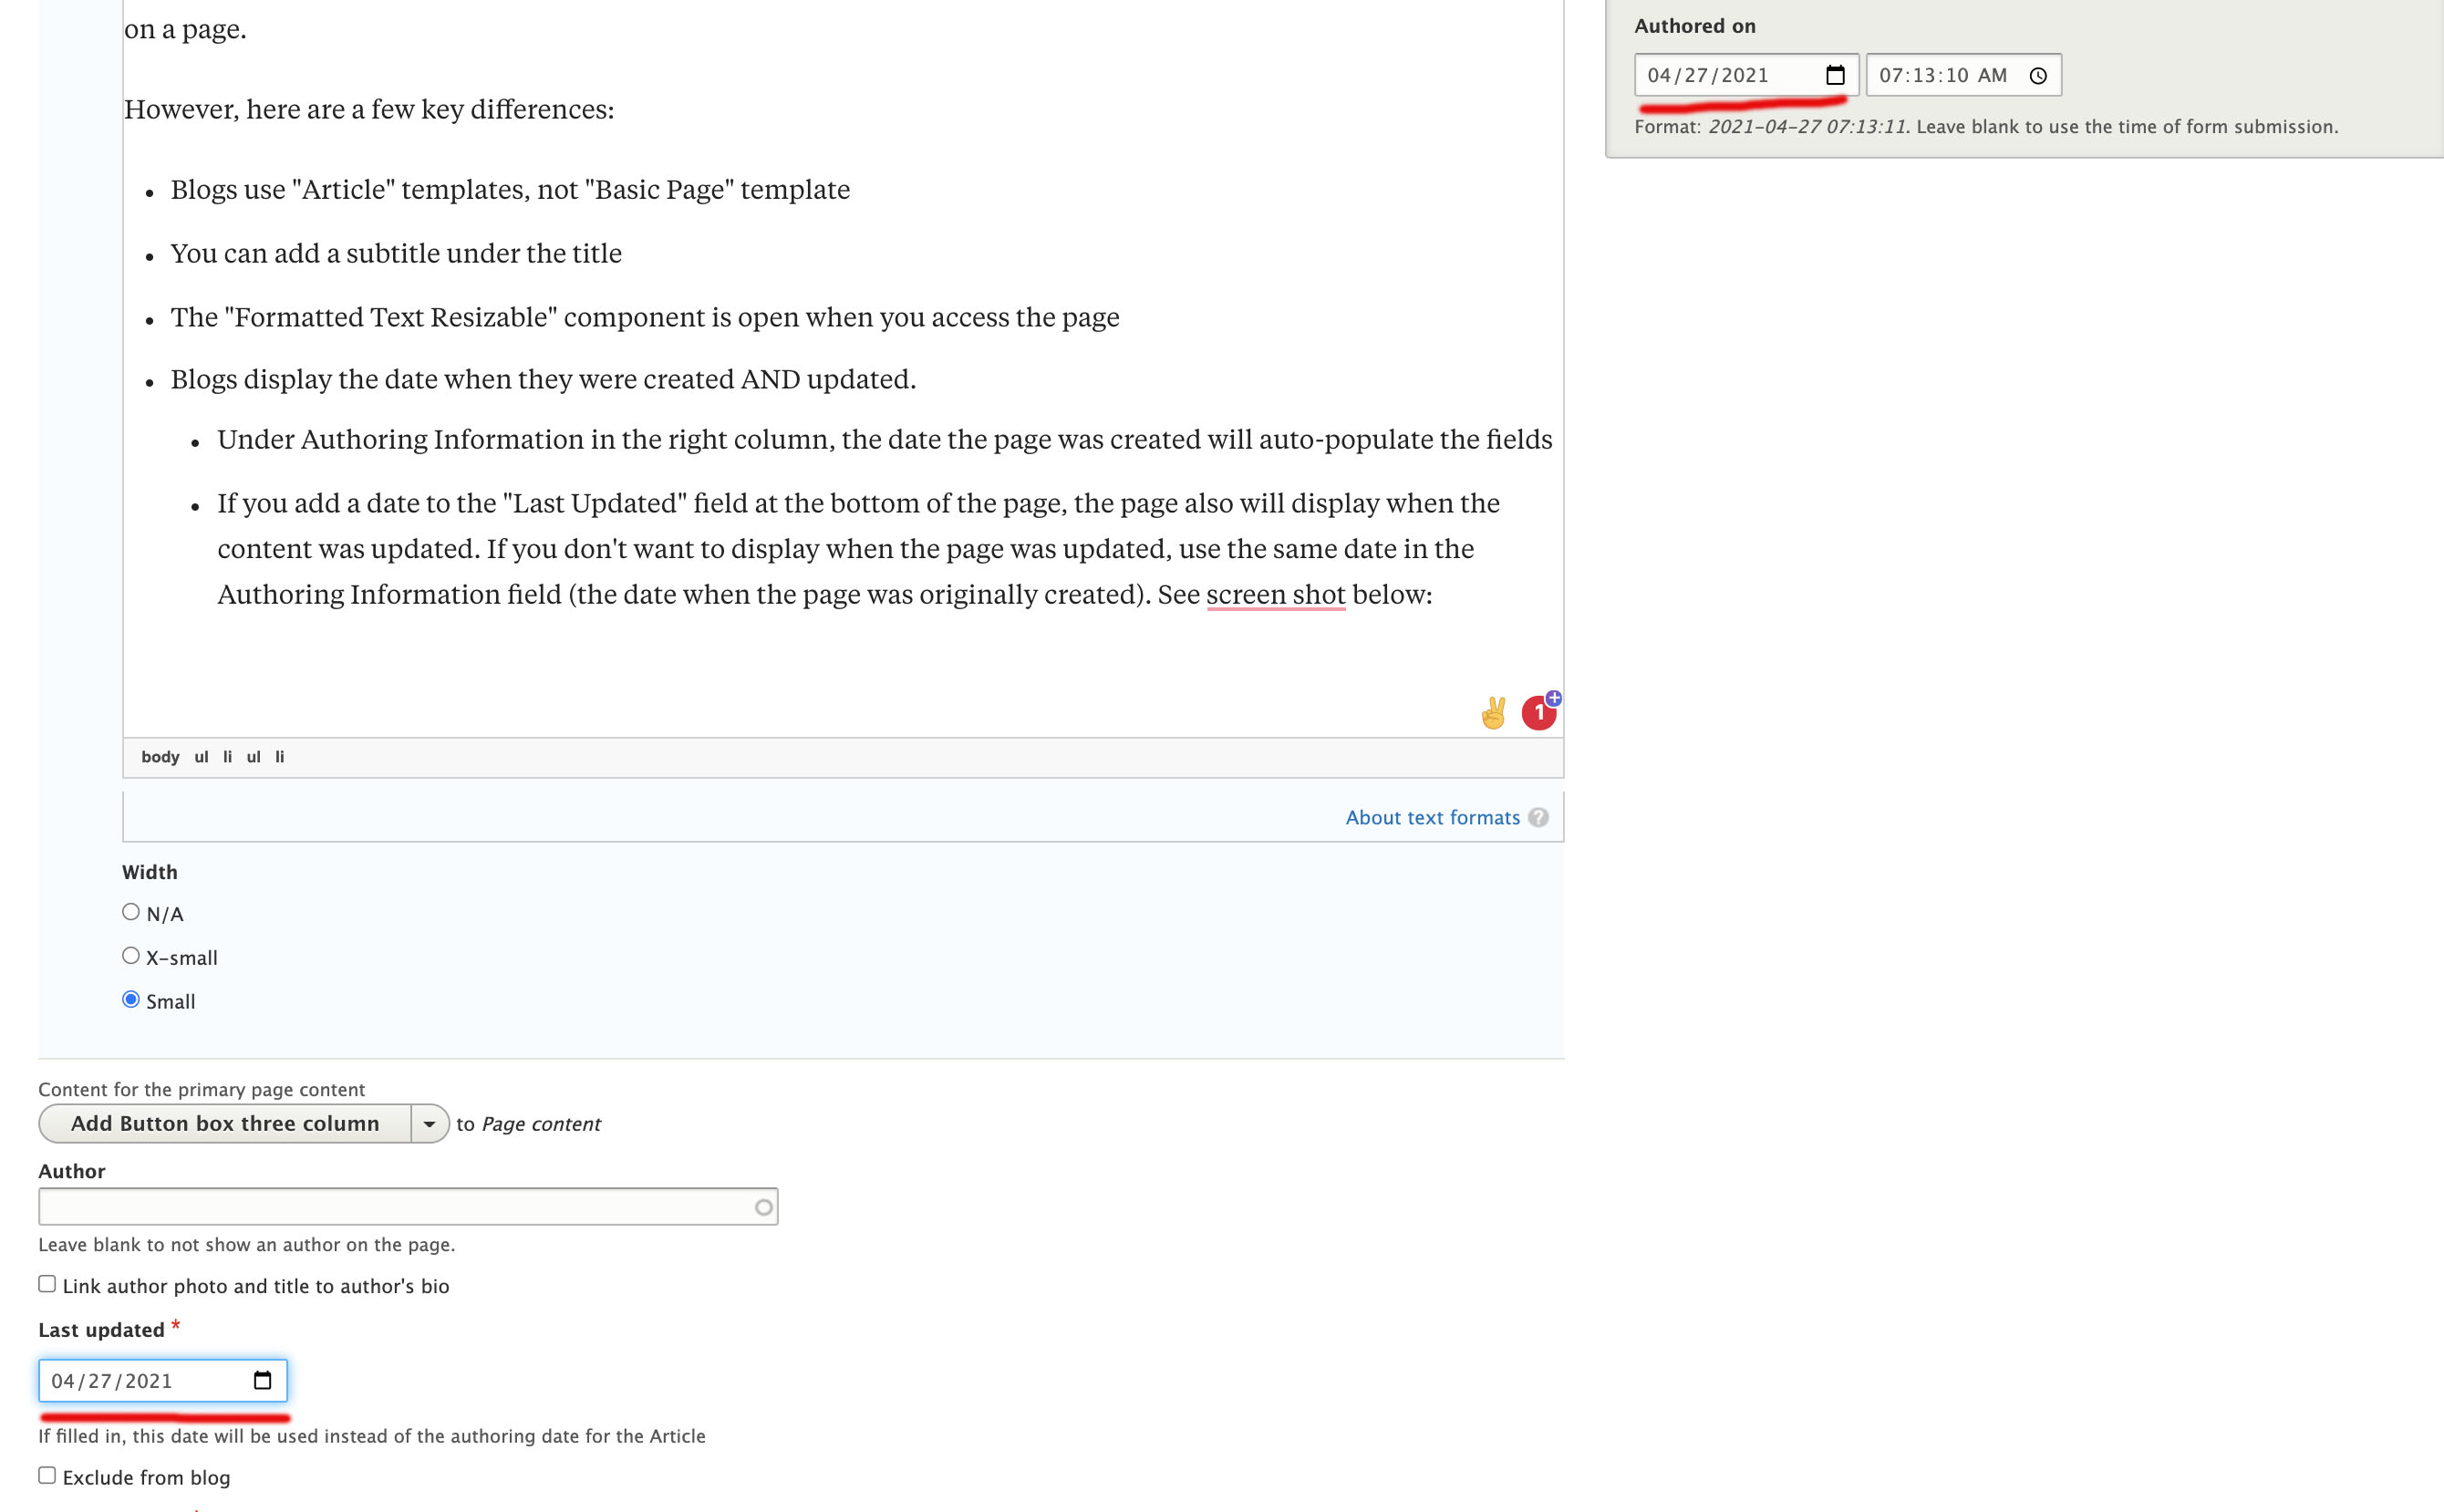
- Blogs display the date when they were created AND updated.
- Under Authoring Information in the right column, the date the page was created will auto-populate the fields (Note: Only the date will display, not the time so don't worry about the time field.)
- If you add a date to the "Last Updated" field at the bottom of the page, the page also will display when the content was updated. If you don't want to display when the page was updated, use the same date in the Authoring Information field (the date when the page was originally created). See image below:
Other page essentials
Uploading documents:
Building anchor links: